
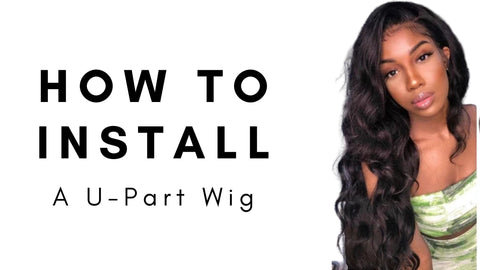
How to Install a U Part
Did you get yourself a 'U' part wig, but you have no idea how to install it? A U-Part wig is specially designed to blend seamlessly with your natural hair, but you must install it properly to get the most realistic finish.
With the right methods, you can install your U part without any gluing or sewing. Here are some easy steps to install your U part wig in two minutes!
Braid your hair back in cornrows and leave some hair in front to cover the U part after the installation process.
Pin the hair you left out to one side so that it doesn't get in the way of your wig when you are installing it.
Get out your U-part wig (your wig should come with between 3 and 5 clips so you can install the wig securely)

Start fixing your wig by clipping the middle piece at the back of your hair first before putting on the wig at the back and arranging it properly.
Then, clip all the places in front creating the U-shape and ensure that they are as symmetrical as possible. Proceed to install the clips in any other parts of the wig you find them, particularly the back and side for a stronghold.
Take your natural hair out of the pin and part it to mimic the actual U-part of the wig combing it towards both sides so it covers the front of the wig in the right places.
At this point, use a stretcher or flat iron to make your natural hair flatter so that it can blend with the wig, and you're good to go.

You can then proceed to style the hair to your liking. You can apply edge control and use a curling iron on the wig if necessary.
There, you have it! Your U-part is ready to be rocked!

Hi.
I’m Chantal and I’m from South Africa. How much will the shipping cost if I order my U PART Wig from you.
Leave a comment